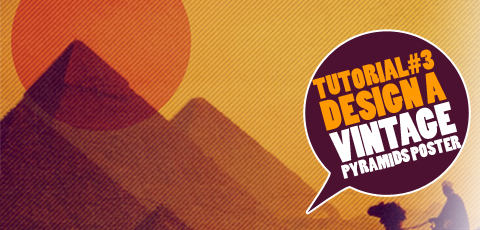
Today we will Design a Vintage Pyramids Poster using Photoshop CS2 or later ver. and as we used to we will put all the shortcuts we use between ( )
The final result
Step 1:
Create a new file (ctrl+n) with this parameters.
Step 2:
Open a Pyramids get it from google you can find it here Download Pyramid Picture and drag it to our file and resizing it using free transform (ctrl+t) and adjust the position of it.
Step 3:
Use Ellipse tool (u) and draw circle fill it with color #d35934 and change the blending mode to Color Burn and set the Opacity to 50% .
Step 4:
Create new document using 10 pixels for the width and 10 pixels for the height, with transparent background. Set the Foreground color to #02152a and with Line Tool (U) draw diagonal line.
Go to Edit > Define Pattern. Name the new pattern as you like, and Now we have a very cool diagonal pattern.
Step 5:
Back to our design, click (d) to make the color to the default, now add a new layer on top and fill it with white color (ctrl+back space). add Layer Style Pattern Overlay, using the pattern we created.
Reduce Fill Opacity to 0%. By doing this we removed white color (fill) but pattern overlay remain visible.
Step 6:
Now draw 2 rectangles using rectangle tool (U) fill one with red color #ff0100 and the second with black color #00000
Step 7:
Now we will add text to our Design using text tool (T) and write EGYPT fill it with white color #fffff and set the opacity to 50%.
Step 8:
Create a new layer (ctrl +shift+N) and using marque tool (m) draw a rectangle under Egypt text layer and fill it with gradient tool with black to Transparent.
Step 9:
we will add some information about the pyramids you can get it through Wikipedia and adjust it in columns.
Step 10:
Adding the final text to our design and adjust it using free transform (ctrl+t)
Step 11:
Open a Cool Grunge texture and drag it to our design, and adjust the size using free transform (ctrl+t).
Step 12:
Change the Blending Mode to Hard Light and set Opacity to 30%.
Step 13:
Now the final step in our design click on create adjustment layer > Gradient map
Set a gradient going from dark purple (#640270) to dark yellow (#dcb201), then lower Opacity of adjustment layer to 40% to give our design a faded vintage feel.
And Here We Go


No comments:
Post a Comment